
1. Veiw 환경설정
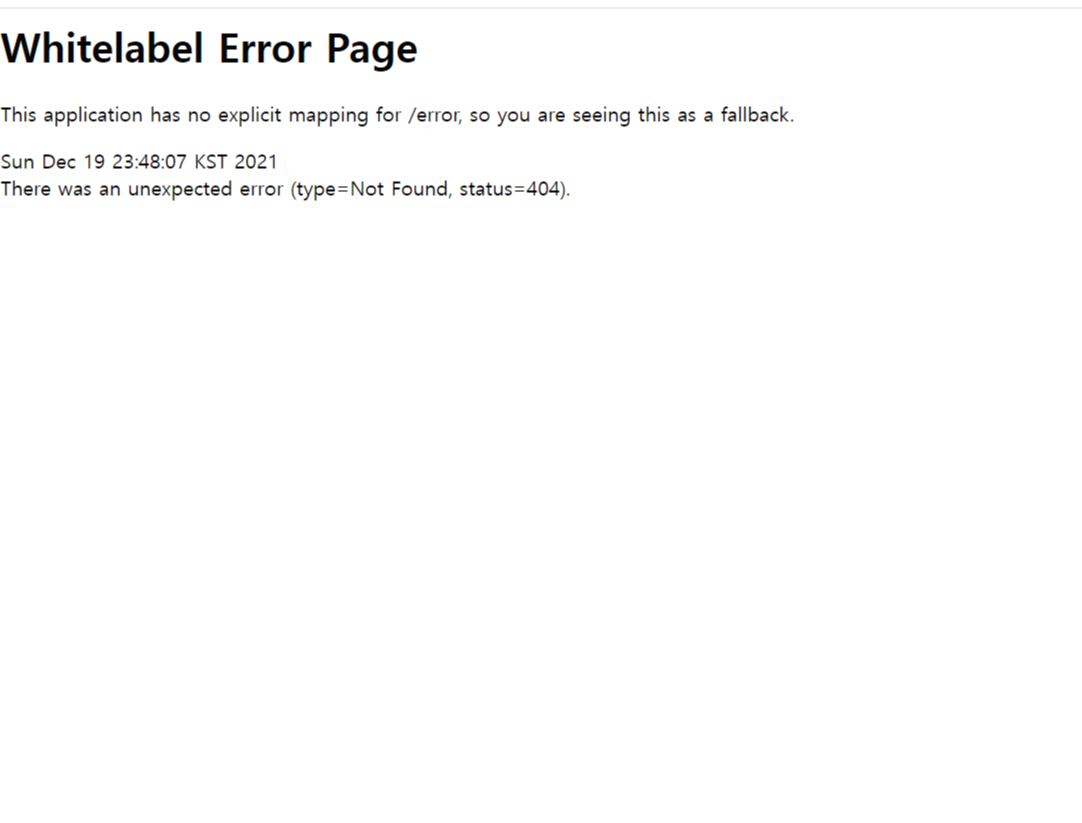
앞서서 환경설정을 성공적으로 마치고 location:8080으로 들어가면 위와 같이 에러 페이지가 나왔는다.
이제 제대로 된 것을 넣어서 확인을 해보려고 한다.
2. welcome page 만들기
- welcome page란?
👉 welcome page는 웹페이지를 처음 실행했을 때 처음으로 보이는 페이지를 "welcome page"라고 한다.
👉 welcome page "resources/static/index.html" 을 만들어주면 이것을 웹페이지의 첫 화면으로 보여주는 작업을 스프링부트가 하게 된다.
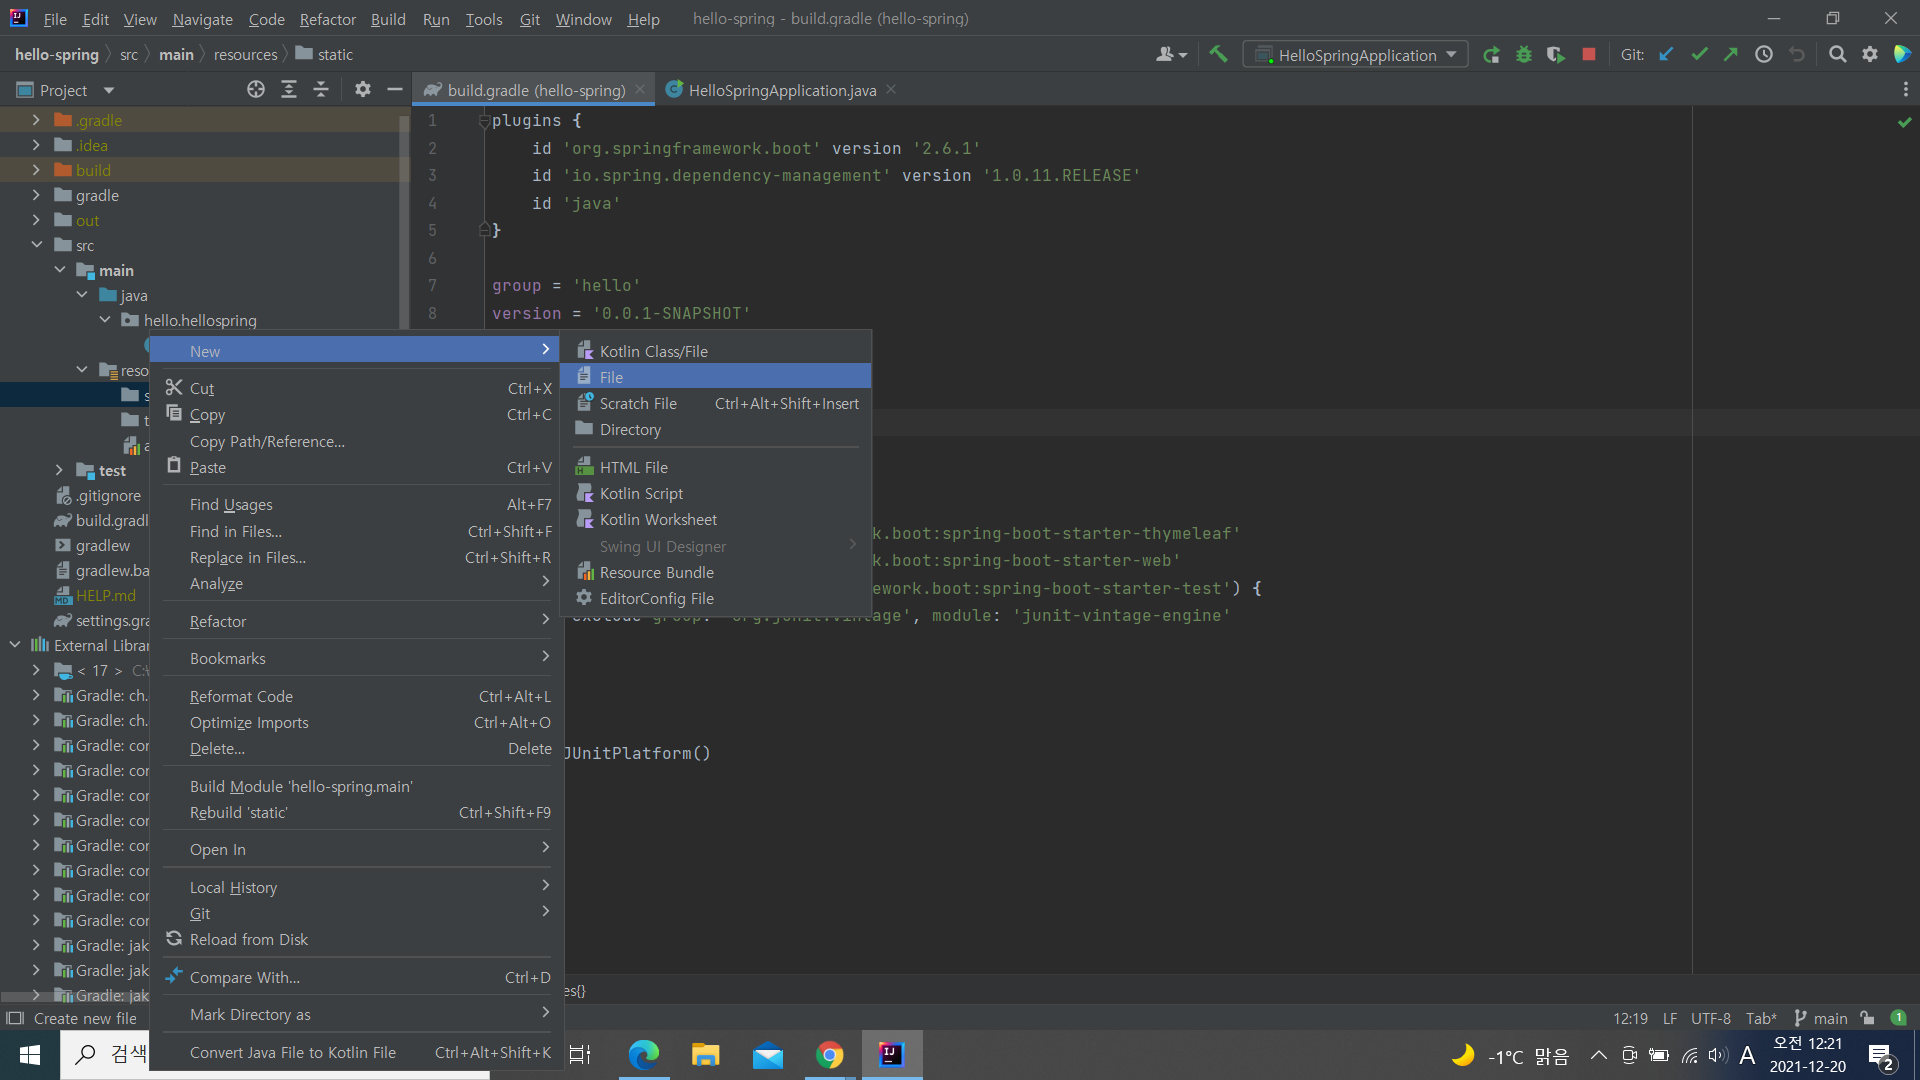
2 - 1 'resources/static/index.html' 경로에 index.html 파일 만들기
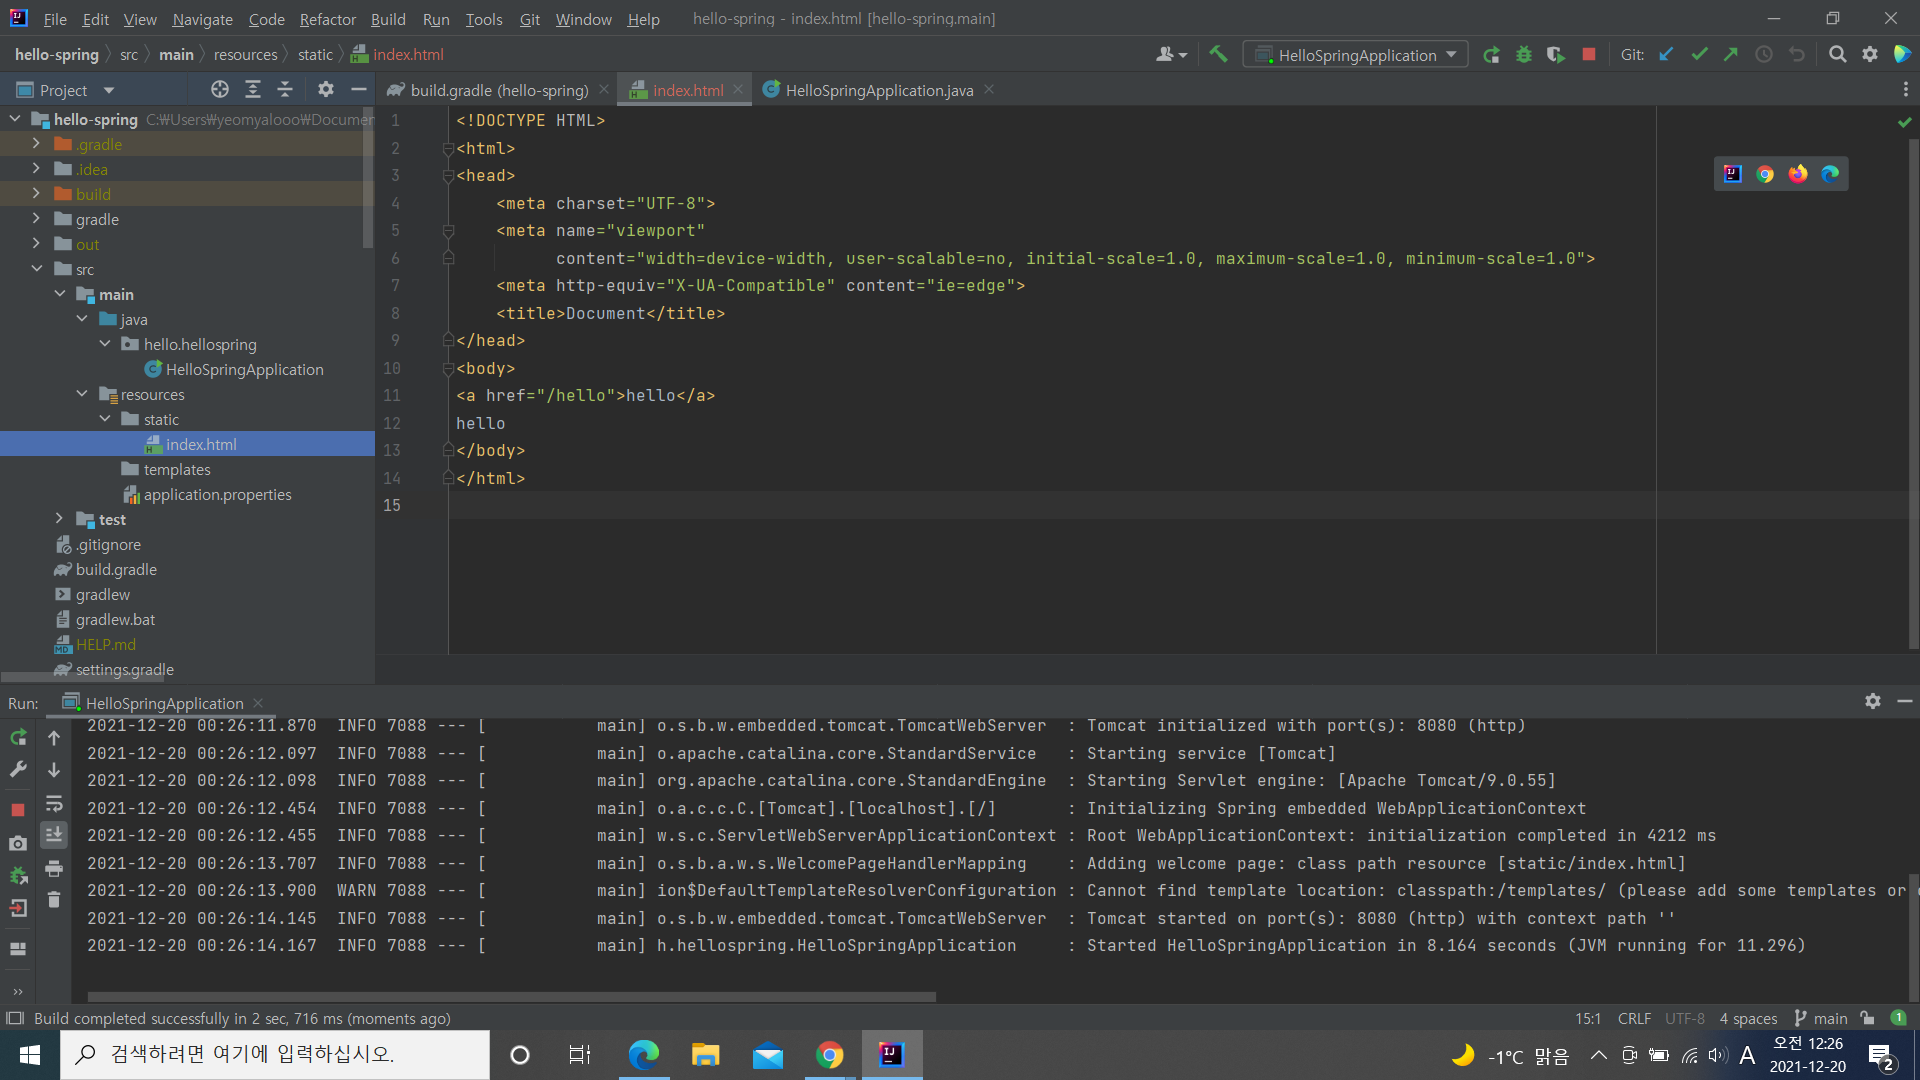
여기서 주의해야 할 점은 다시 run 해주어야 한다는 것이다!!
또한 static 안에 넣어준 파일은 정적인 페이지로 그냥 페이지 자체를 넘겨주어 보여주는 것이다.
3. Thymeleaf 템플릿 엔진
3-1 Thymeleaf 템플릿 엔진은 왜 사용하는가?
👉 동작하고 프로그래밍이 되는 화면을 사용하기 위해서 Thymeleaf를 사용한다.
👉 소위 말하는 Comtroller라는 개념이 이와 같다.
이와 같이 진행을 해준다.
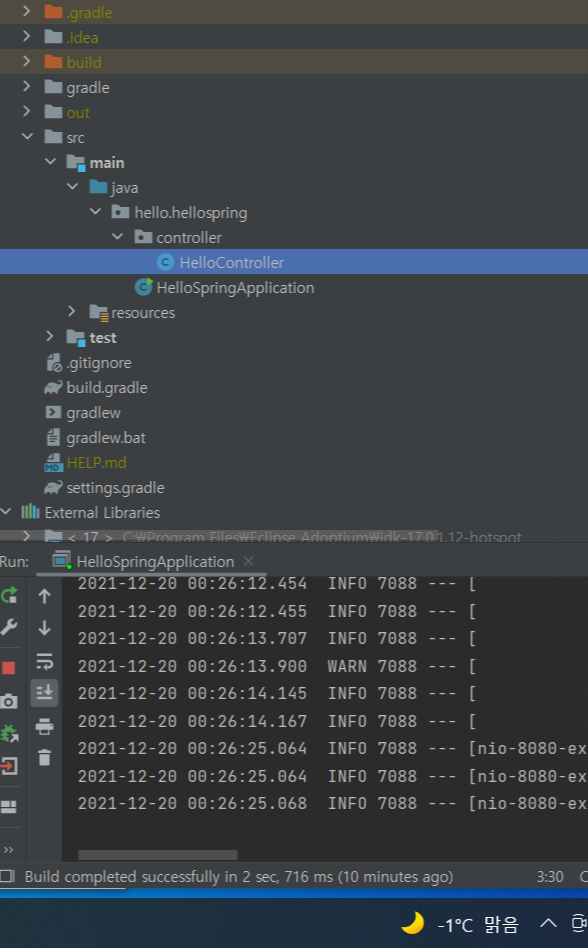
- 메인 자바클래스가 있는 패키지 안에 컨트롤러 패키지를 생성하고
- 컨트롤러 패키지 안에 컨트롤러 자바클래스를 생성해준다.
3-2 Thymeleaf 템플릿 엔진 사용방법
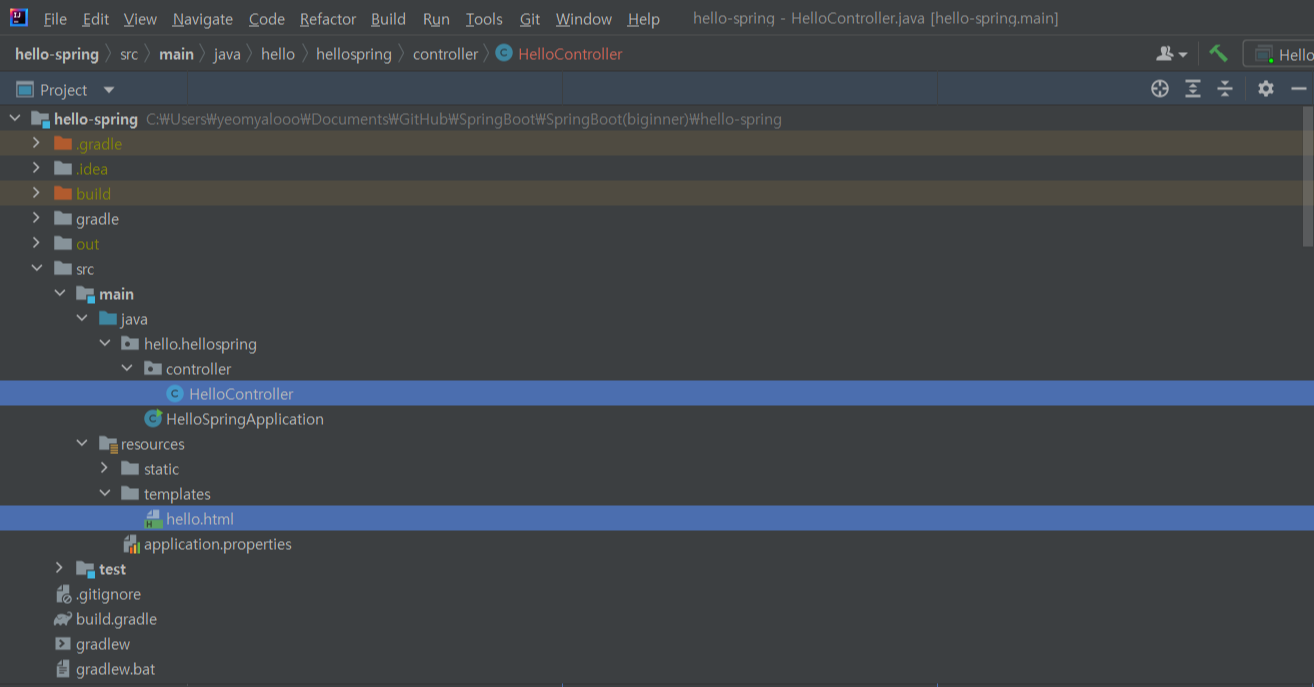
- controller를 만들어 준 뒤
- 리소스로 가서 템플릿 안에 html 파일을 하나 만들어 준다.
- 그런 뒤 작동을 멈추고 다시 작동을(run) 해주면 된다.
<controller 코드>
package hello.hellospring.controller;


import org.springframework.stereotype.Controller;
import org.springframework.ui.Model; //MVC 모델 - 뷰 - 컨트롤러 패턴에 M이 모델임
import org.springframework.web.bind.annotation.GetMapping;

@Controller
public class HelloController {
    @GetMapping("hello")
    public String hello(Model model){
        model.addAttribute("data","hello!!");
        return "hello";

    }
}
<hello.html 코드>
<!doctype html>
<!--타임리프 엔진을 사용하기 위함-->
<html xmlns:th="http://www.thymeleaf.org">
<head>
    <meta charset="UTF-8">
    <meta name="viewport"
          content="width=device-width, user-scalable=no, initial-scale=1.0, maximum-scale=1.0, minimum-scale=1.0">
    <meta http-equiv="X-UA-Compatible" content="ie=edge">
    <title>hello.html</title>
</head>
<body>

<p th:text ="'안녕하세요. ' + ${data}">안녕하세요. 손님</p>

</body>
</html>
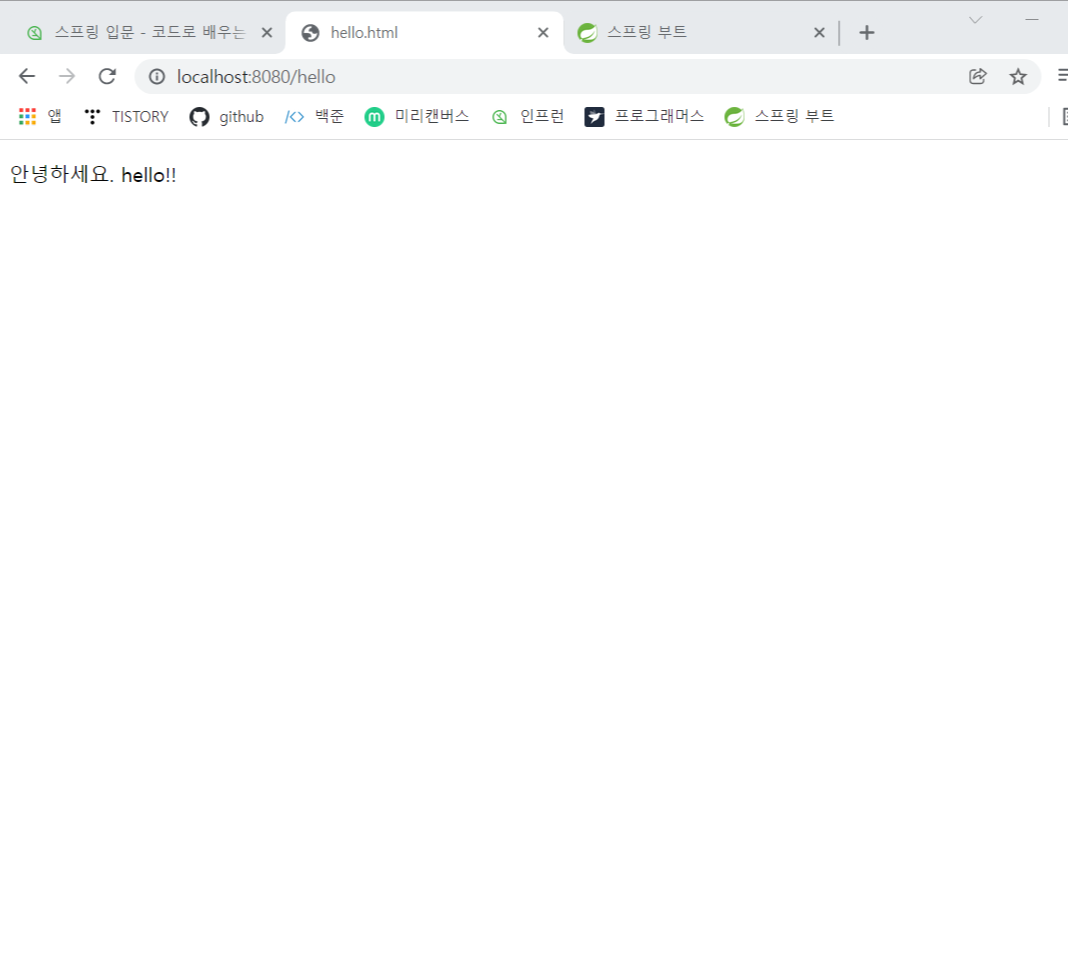
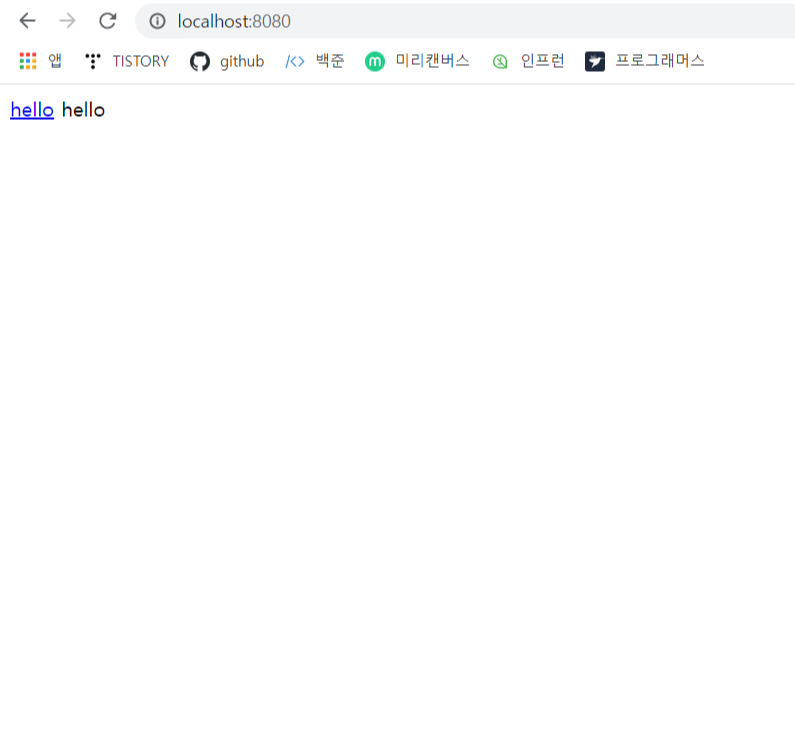
이와 같은 화면이 나오게 된다.
이때 localhost:8080/hello를 써주어야 된다.
4. 스프링부트 동작환경
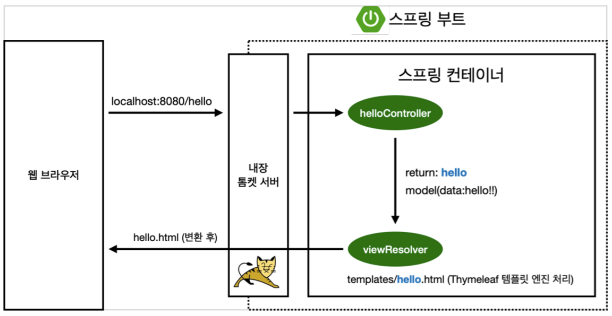
톰캣 - 웹서버를 내장하고 있는 것
이 수업에서🧐
템플릿 엔진의 동작하는 방법 정적파일(welcome page) 동작하는 방법을 알아보았다.
'Back-End > Spring' 카테고리의 다른 글
| [SpringBoot][스프링 입문] - 2.2 MVC와 템플릿 엔진 (0) | 2021.12.21 |
|---|---|
| [SpringBoot][스프링 입문] - 2.1 정적 콘텐츠 (0) | 2021.12.21 |
| [SpringBoot][스프링 입문] - 1.4 빌드하고 실행하기 (0) | 2021.12.20 |
| [SpringBoot][스프링 입문] - 1.2 라이브러리 (0) | 2021.12.20 |
| [SpringBoot][스프링 입문] - 1.1 프로젝트 환경설정 (0) | 2021.12.19 |